Java Servlet and JSP Hello World Tutorial with Eclipse, Maven and Apache Tomcat
- Details
- Written by Nam Ha Minh
- Last Updated on 11 March 2020 | Print Email
- JDK 8
- Servlet 3.1
- JSP 2.3
- Eclipse 4.6 (Neon)
- Apache Tomcat 8
1. Creating a Java Dynamic Web Project
In Eclipse IDE, click menu File > New > Dynamic Web Project to create a project for Java web application. Name the project as HelloWorldJavaEE and keep the default settings for:- Target Runtime: Apache Tomcat v8.0
- Dynamic web module version (Servlet version): 3.1
- Configuration: Default Configuration for Apache Tomcat v8.0
 Click Next two times to go to this screen:
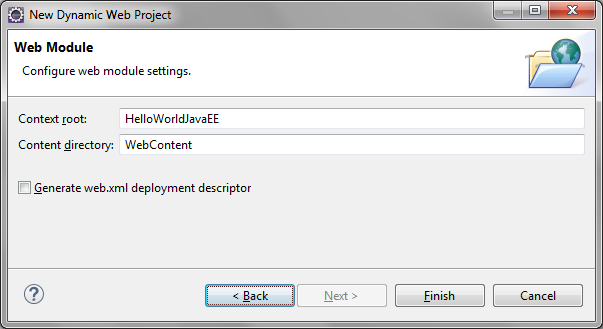
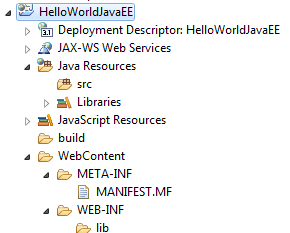 This is a typical Java EE project. Next, we will add Maven support.
 2. Adding Dependencies for Serlvet and JSP in Maven’s Project File
Now, we need to add Maven as a build manager for our project. To do so, right click on the project and select Configure > Convert to Maven project. The Create New POM dialog appears, enter the following information: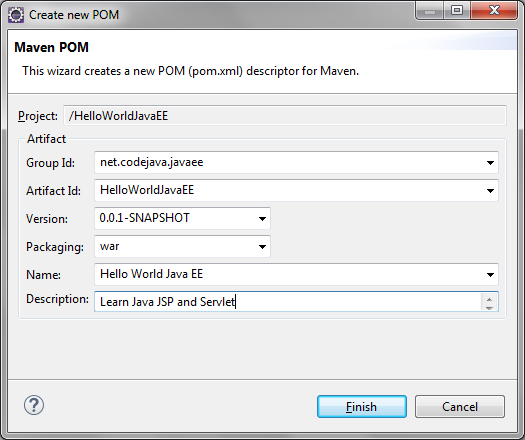 Note that the Group Id will be used as the main package for our Java code. Now you see the pom.xmlfile created in the project. Open it in XML mode and put the following code between the <description>and <build> elements:
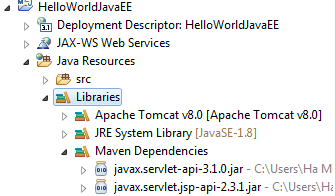
<dependencies>
	<dependency>
		<groupId>javax.servlet</groupId>
		<artifactId>javax.servlet-api</artifactId>
		<version>3.1.0</version>
		<scope>provided</scope>
	</dependency>
	<dependency>
		<groupId>javax.servlet.jsp</groupId>
		<artifactId>javax.servlet.jsp-api</artifactId>
		<version>2.3.1</version>
		<scope>provided</scope>
	</dependency>
</dependencies>
You can see these are two dependencies for Servlet API 3.1.0 and JSP API 2.3.1. Save the pom.xmlfile and Maven will download the dependent JAR files in few seconds, as you can see under the Libraries section of the project:
3. Creating a JSP Page
Right click on the project and select New > JSP File. Enter index.jspas the file name in the New JSP File dialog: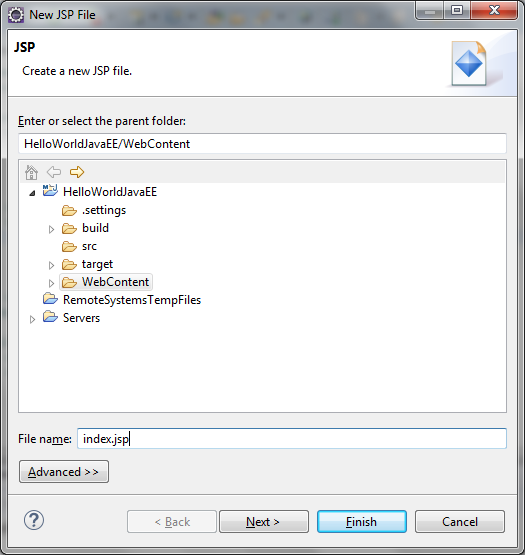 Click Finish and you see Eclipse created the index.jspfile under the WebContentdirectory. Update it with the following code:
<%@ page language="java" contentType="text/html; charset=ISO-8859-1"
    pageEncoding="ISO-8859-1"%>
<!DOCTYPE html PUBLIC "-//W3C//DTD HTML 4.01 Transitional//EN"
	"http://www.w3.org/TR/html4/loose.dtd">
<html>
<head>
<meta http-equiv="Content-Type" content="text/html; charset=ISO-8859-1">
<title>Hello World Java EE</title>
</head>
<body>
	<h1>Hello JSP and Servlet!</h1>
</body>
</html>
As you can see, this page simply uses HTML code to display the text “Hello JSP and Servlet!”. 4. Testing the JSP Page
Now, let’s test the JSP page to see if the server works normally. If you haven’t added Tomcat server to Eclipse, follow this tutorial to add Apache Tomcat to the IDE.To deploy the project on Tomcat, simply drag the project from the Project Explorer view to Servers view, which results in the following screenshot: Right click on the server and select Start. Tomcat will be in Started state after few seconds and you see the last line in the Console view is something like this:
INFO: Server startup in 1239 msNow we can test the JSP page either by:- Right click on the project, select Run As > Run on Server and click Finish in the Run on Server dialog. This will open an internal web browser inside the IDE like this:
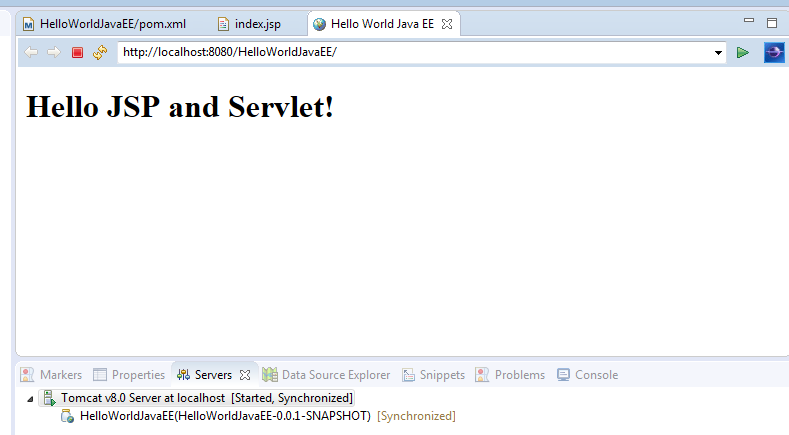 If you see the page displays “Hello JSP and Servlet!”, that means the web application is up and running successfully. Congratulations!- Another way is opening an external browser e.g. Google Chrome and enter the following URL (as shown in the internal web browser):
http://localhost:8080/HelloWorldJavaEE/
5. Update the JSP Page (Adding Form)
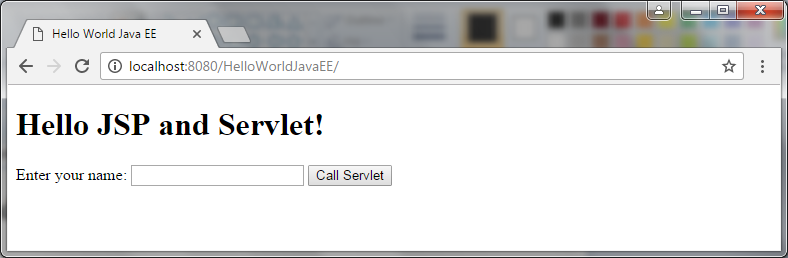
Next, let’s update the JSP page to work with a Java servlet. The idea is adding a web form and on submit, the form will be processed by the servlet. Add the following code between the<body> tags of the page:<h1>Hello JSP and Servlet!</h1> <form action="helloServlet" method="post"> Enter your name: <input type="text" name="yourName" size="20"> <input type="submit" value="Call Servlet" /> </form>This HTML code adds a form with a text field and a submit button to the page. The actionattribute of the form specifies the URL handles this form’s submission. In this case, we specify a path which is relative to the application and it points to a Java servlet which we will create in the next section.Save the file and refresh the browser, you will see:
 Try to enter something in the text field and click Call Servlet, we get a 404 error page like this:
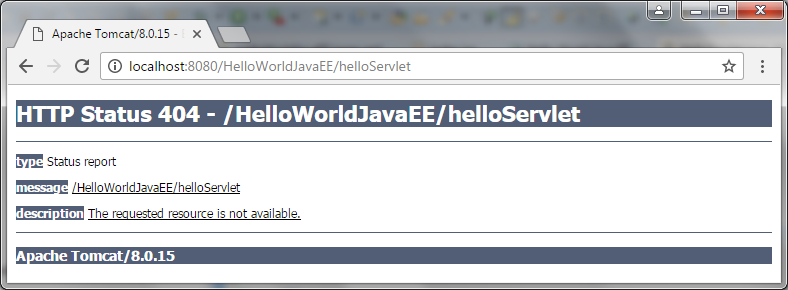 Don’t worry. This is because we haven’t created any Java servlet to handle this request. We will do so in the next section.
 6. Creating a Java Servlet
Before creating a servlet, let’s create a Java package named net.codejava.javaee by right click on the project, select New > Package. Enter that package name in the New Java Package dialog.Now click on the newly created package name and select New > Servlet, then enter HelloServlet as class name in the Create Servlet dialog: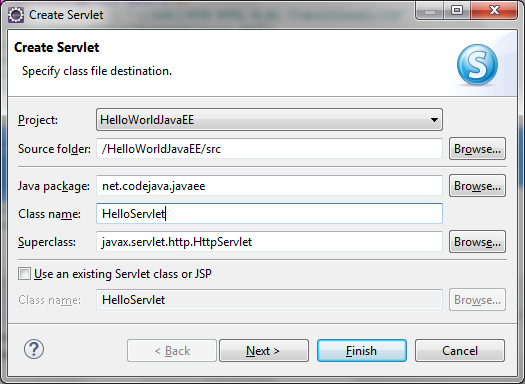 Click Next. In the next screen, edit the URL mapping from /HelloServlet to /helloServlet as shown in the following screenshot:
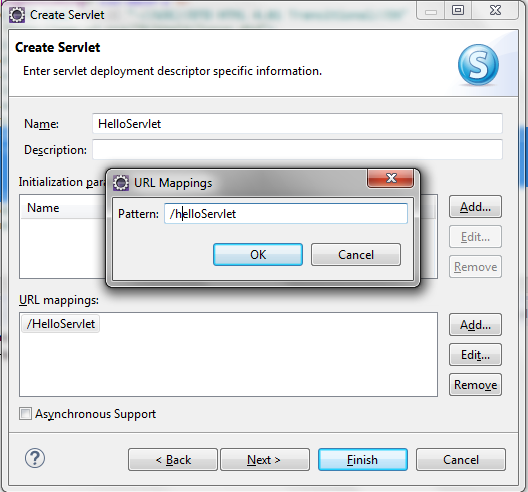 NOTE:this URL mapping must match the value specified for the actionproperty of the form in the JSP page so the servlet can process request from the form.In the next screen, uncheck the option doGet in order to generate only doPost() method to handle the form:
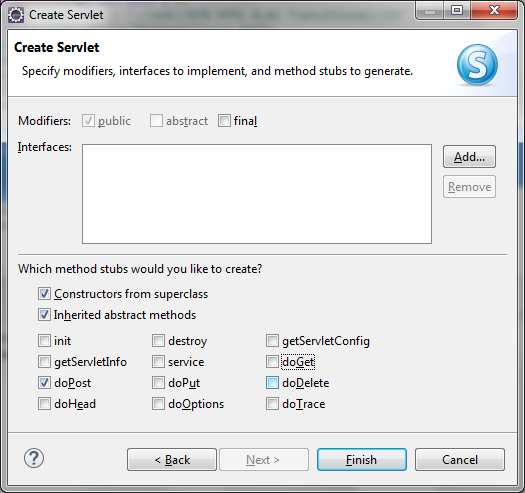 Click Finish to let Eclipse generates code for the HelloServletclass, as shown below:
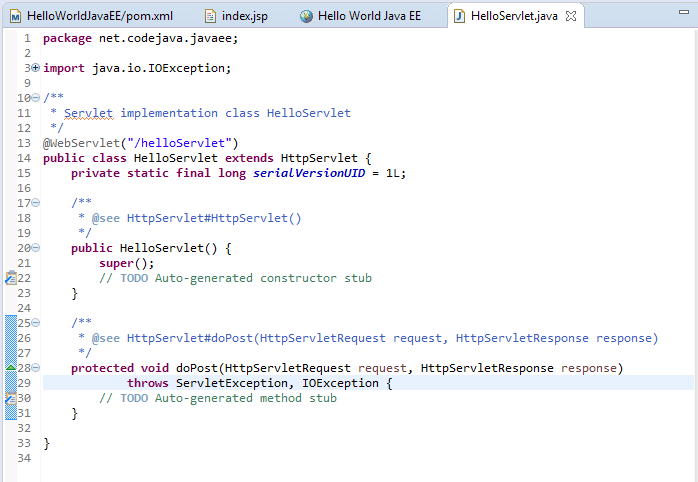 The@WebServlet annotation placed before the class declaration specifies that this class is a Java servlet which is responsible to handle requests in the form of /helloServlet.The doPost() method is where we put the code to process HTTP POST request sent to this servlet. This method accepts two parameters HttpServletRequestrepresents the request and HttpServletResponserepresents the response. These request and response objects are created and injected by the Servlet container (Tomcat).Now, put the following code inside the method doPost():
String yourName = request.getParameter("yourName");
PrintWriter writer = response.getWriter();
writer.println("<h1>Hello " + yourName + "</h1>");
writer.close();
This code simply retrieves value of the field yourNamefrom the form and writes a String to the response. 7. Testing the Servlet
Save the HelloServlet class and restart the server. Refresh the home page and enter your name in the form, for example: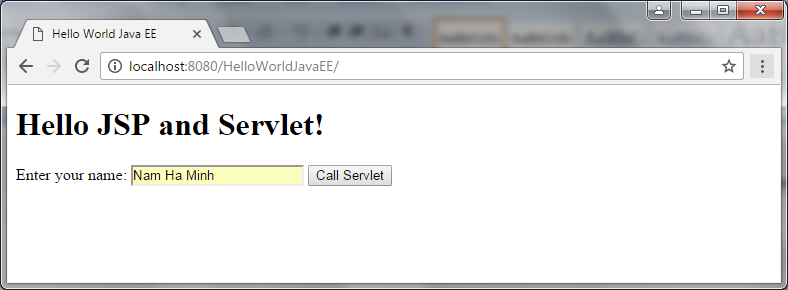 Click the button Call Serlvet and you see this response:
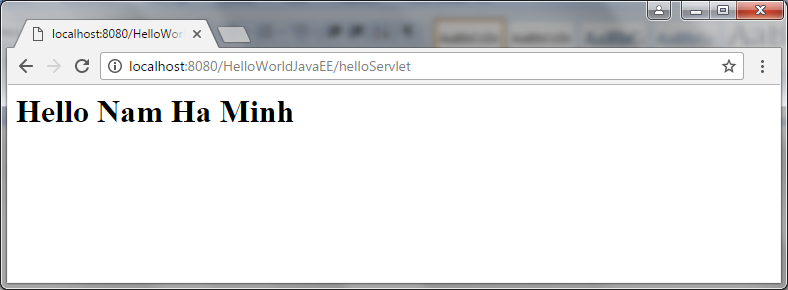 Congratulations! Seeing this page means that the servlet has fulfilled the request and gave a response.So far we have walked you through the process of developing a ‘Hello world’ Java web application based on JSP and Servlet technologies using Eclipse IDE with Maven as the build system and Tomcat as the server. We hope you found this tutorial helpful, and thanks for reading.You can also follow this video tutorial (something might be different than the text in this article):
Other Java Servlet Tutorials:
- Java Servlet Quick Start for beginners (XML)
- Java Servlet for beginners (annotations)
- Handling HTML form data with Java Servlet
- Java File Download Servlet Example
- Upload file to servlet without using HTML form
- How to use Cookies in Java web application
- How to use Session in Java web application
About the Author:
 Nam Ha Minh is certified Java programmer (SCJP and SCWCD). He started programming with Java in the time of Java 1.4 and has been falling in love with Java since then. Make friend with him on Facebook and watch his Java videos you YouTube.
| [Java JSP and Servlet Hello World Eclipse project] | 13 kB |
Comments
JDK 17
Eclipse 2021-12
Apache Tomcat 10